When I first tried cleaning messy recordings, I wished someone had told me how simple it could be. That’s exactly why I want to show you how DeVoice makes audio fixing easy, even if you’re new to this stuff.
If you’ve ever wondered how to clean audio without buying pro gear, stick with me. I’ll walk you through everything in plain English.
Why Clean Audio Even Matters
I talk to so many beginners who think noise isn’t a big deal. But noisy audio makes your content feel unprofessional. People judge fast. If your sound has hiss, hum, or echo, they click away quickly.
And honestly, you don’t need fancy plugins. You just need the right workflow and the right tool.
The Real Problem With Raw Recordings
Most audio gets messed up before you even touch it. Fans blow. Traffic passes. Microphones pick up every little vibration. I’ve seen students panic because they thought their project was ruined.
But trust me, that’s fixable. You only need to understand one thing: the cleaner the waveform, the better your final output.
How Digital Noise Removal Works
Let me break it down simply. Noise removal tools look for patterns inside your audio waveform. Background noise usually sits in stable frequency bands.
AI models detect those frequencies and isolate your primary speech. This gives you a clearer signal-to-noise ratio, which makes your voice stand out.
That’s the whole magic, minus the confusing engineering talk.
When You Should Clean Your Audio
You should always clean audio when:
- You record indoors with echo
- You film outside with wind
- You capture lectures or study notes
- You interview someone in a public place
- You convert video to audio
If any of these sound familiar, you’re in the right place.
The 3 Steps (Using Your Provided Script)
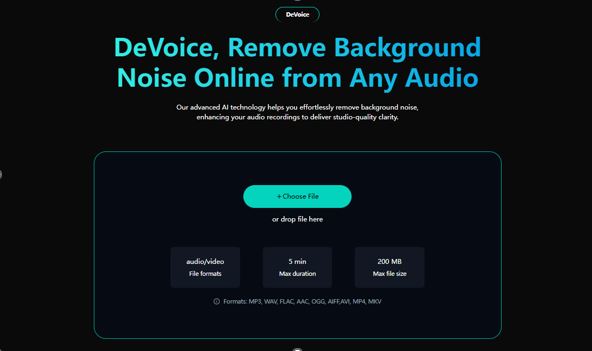
Step 1. Upload Your File
Select the audio or video file you wish to process and upload it to our platform. A single click starts the process to remove background noise.
I always suggest starting with your raw file, not a compressed export. You’ll get cleaner results that way. Look for Upload and tap it.
Step 2. AI Processing
Sit back as our AI analyzes your file and automatically removes background noise. In just a few seconds, your audio is transformed.
This is where the model handles waveform scanning, noise profiling, and filtering. You don’t do anything. Just let the system optimize your audio spectrum.
Step 3. Preview & Download
Review the cleaned audio tracks, choose your preferred version, and download your high-quality file with background noise removed.
I always preview both the “Standard” and “Enhanced” outputs. Sometimes subtle differences help match your project vibe. Click Download once you’re happy.
Tips From My Own Workflow
Start With the Best Possible Recording
Even though AI works well, cleaning audio is easier when the source file is decent. I always try to record away from fans and echoes.
Avoid Over-processing
I’ve learned the hard way: if you over-clean, your audio can start sounding robotic. Always preview both versions before exporting.
Use Headphones to Check Quality
Speakers hide small problems. Headphones don’t. I always check my waveform and listen twice before finalizing.
Save Your Original File
Never delete your raw version. Sometimes you want to re-run it using improved algorithms. Storage is cheap; mistakes are not.
Understanding What the AI Actually Fixes
Removes Background Noise
Think hums, static, buzz, or room noise. AI kills these without hurting your voice clarity.
Reduces Echo
If you recorded in a bathroom-like room, AI reduces reverb frequencies.
Balances Voice Levels
If your audio spikes or dips too much, AI stabilizes it. I rely on this a lot when capturing classroom recordings.
Why Beginners Love AI Noise Cleaning
You Don’t Need Audio Engineering Skills
No need to adjust EQ, compression, or spectral bands. The system handles it.
You Don’t Install Anything
Everything runs online, which saves space and time. Perfect for students using school laptops.
You Fix Audio in Minutes
Most files process in under 20 seconds. That’s why I always use an AI tool when deadlines get tight.
Frequently Asked Questions
Does this work for video files?
Yep. I often upload MP4 or MOV files when I’m editing class presentations.
Will it remove people’s voices in the background?
AI mainly targets consistent noise, but it reduces faint chatter too. It depends on how loud the unwanted voices are.
What file formats work best?
WAV gives the cleanest results. But MP3, MP4, and M4A work perfectly fine.
Can I use this for podcasts?
Absolutely. Clear audio boosts listener retention. I always clean before publishing.
Final Thoughts
You now know exactly how to clean audio without buying plugins or learning complicated software. Whether you’re recording for school, YouTube, meetings, or personal notes, clean sound makes everything easier to understand.
And the best part? You can start in seconds with DeVoice—upload, let AI work, and download your polished file.
If clean sound matters to you, you’ll love how simple the process feels.
Read More: MAP 2.0 Post Assessment Answers: Real eligibility Growth ?